Before you start
Have the two items below ready before you tap + at the top right. Filling blanks without a subscription only fails at connect time, and it looks like a broken app.
- Shadowrocket opens. The first local-network / VPN prompts can be allowed.
- A subscription URL (usually starting with https, or an ss / vmess share link from the provider), or a full set of server parameters (address, port, password, protocol).
- System time set to automatic. A large skew makes TLS-style nodes fail immediately.
Import config
There are usually three ways in. Pick one. Most people use a subscription.
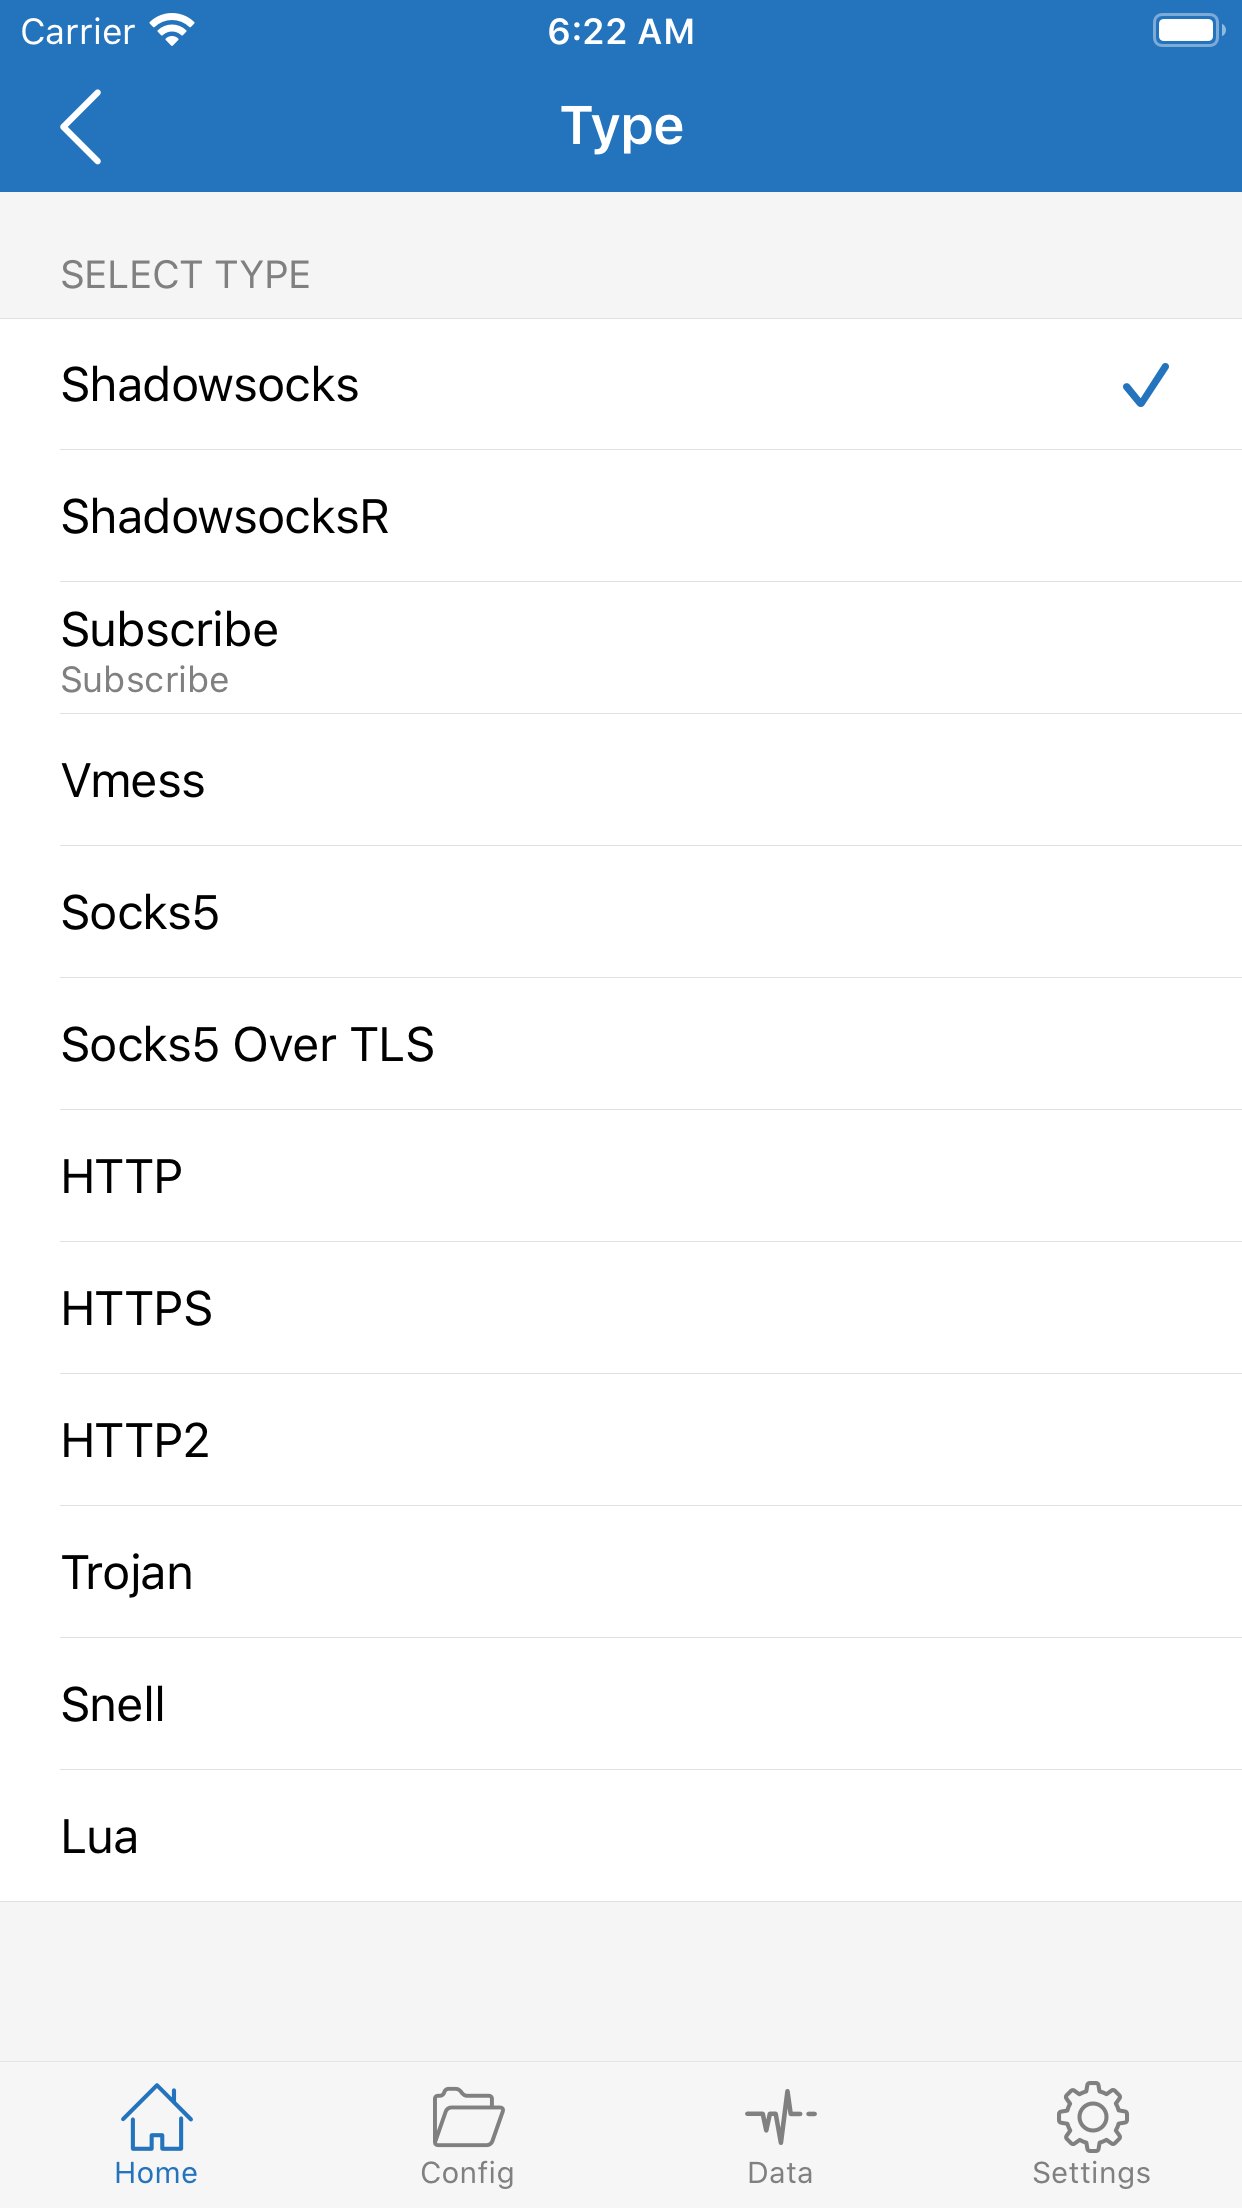
On the right: after +, open Type and choose Subscribe. Do not leave the default Shadowsocks check. Then paste the full URL and tap Done.
The type has to match the content: do not enter a subscription URL as a single Shadowsocks node. The remark is only a name you see, such as “home subscription.” It does not affect the connection.
| Method | When to use it | How |
|---|---|---|
| Subscribe | The provider gave a subscription URL that updates nodes from time to time | Home screen + → type Subscribe → paste the URL → remark → save |
| Scan QR | There is a QR code on a computer or on paper | The scanner next to +, point at the code. After the scan, still check whether the type is a subscription or a single node |
| Add manually | Your own server, and you only have address and port | + → pick the protocol → fill each field. One wrong field and it will not connect |
What you should see After save, the home screen gains a subscription or a server entry. The node list is often still empty. That is the next step, not a failed import.
Update nodes
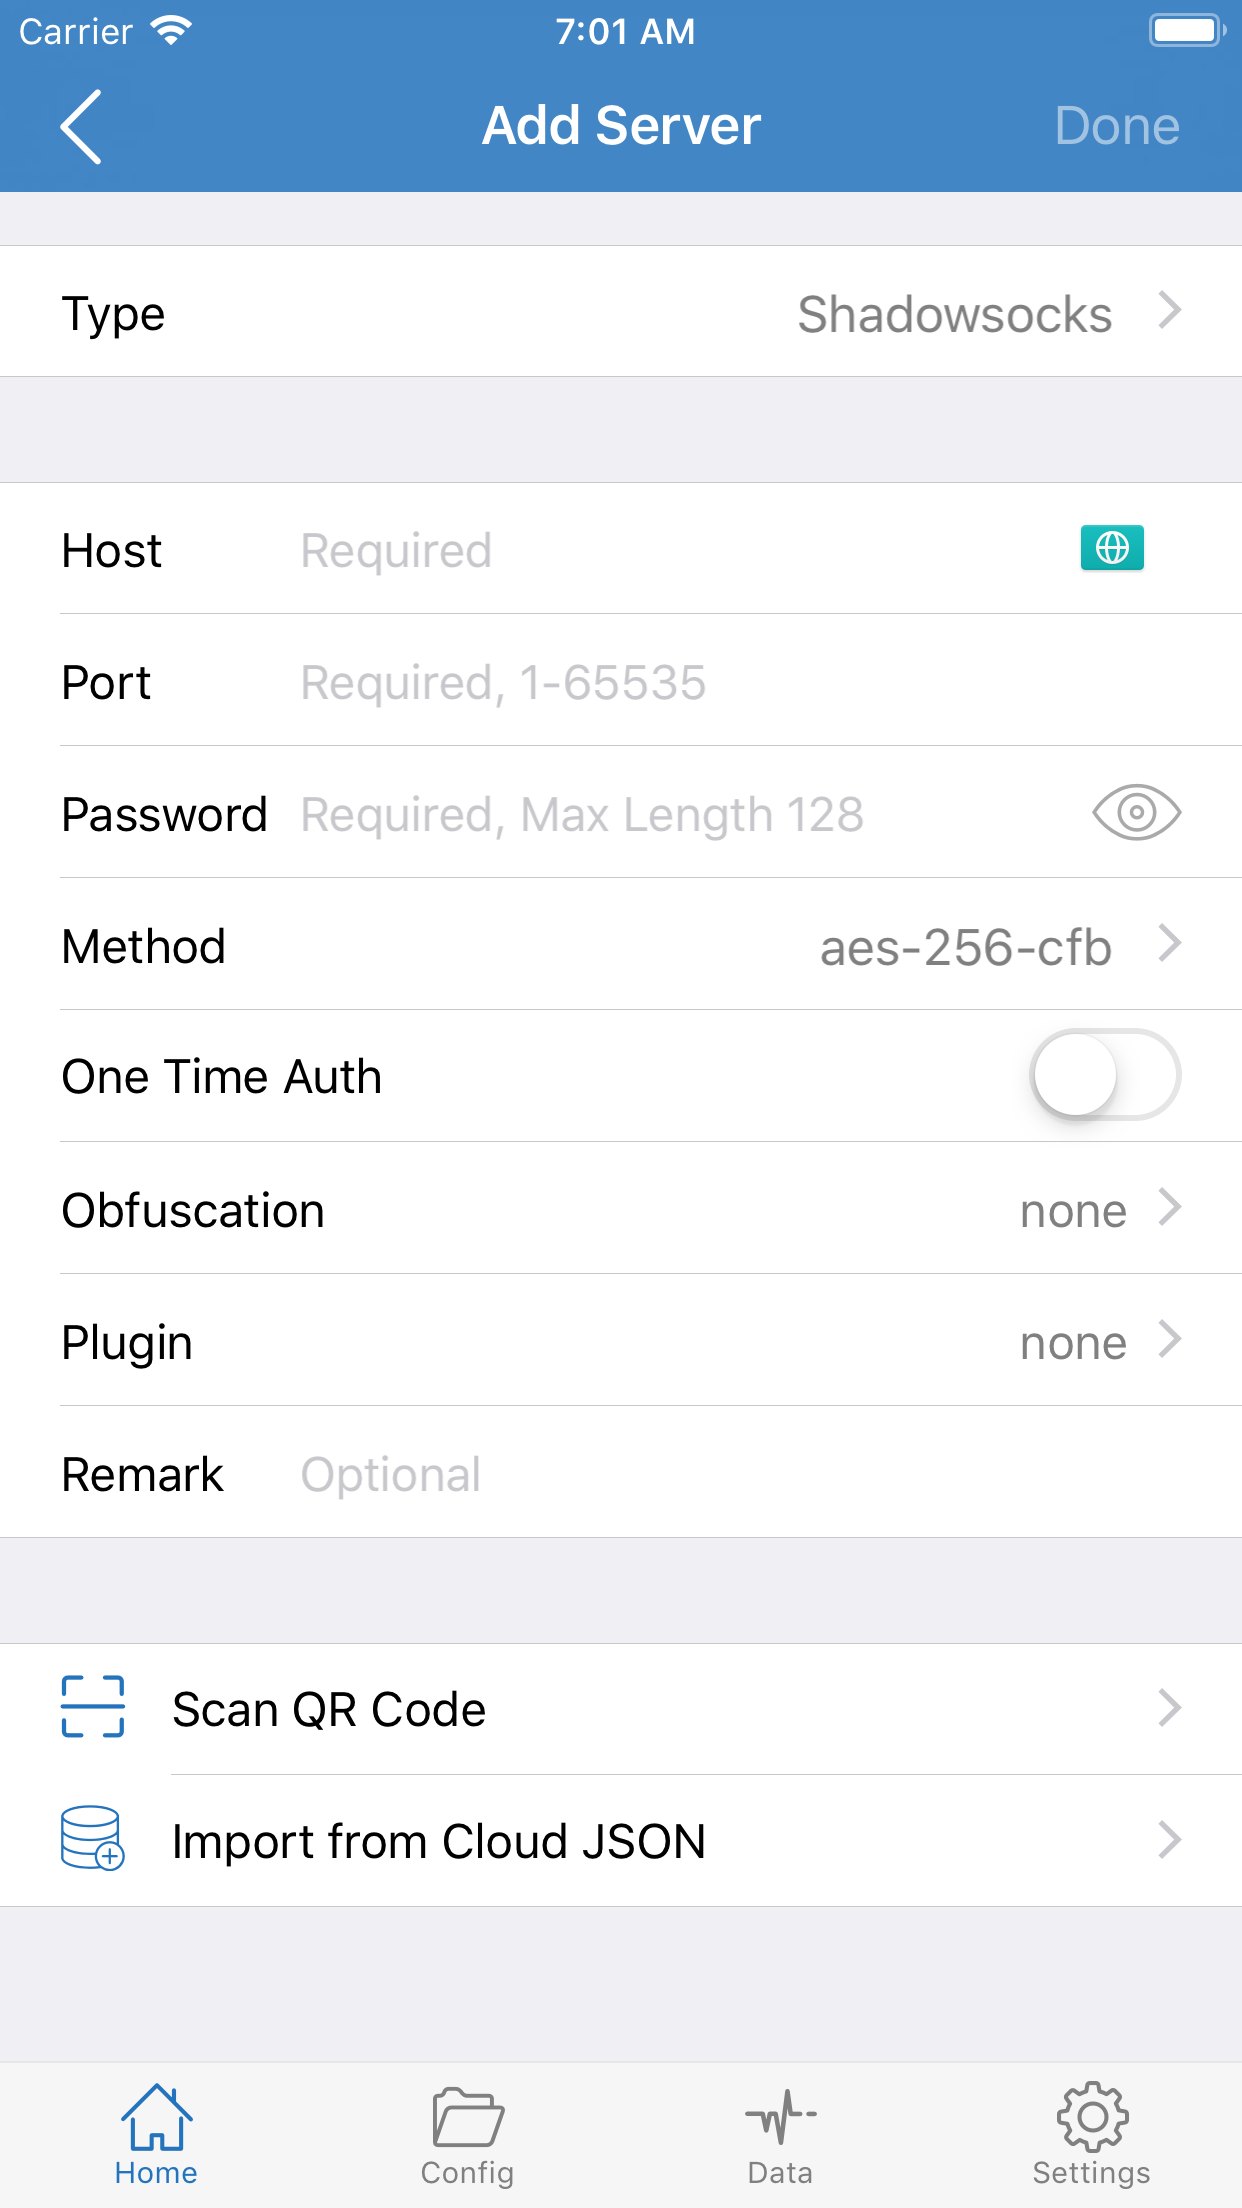
For a subscription, save only stores the URL on the device. Shadowrocket has not fetched the list yet. More detail: subscription management. The store shot is the default Add Server form after +: change Type first. Do not put a subscription URL in Host / Port as Shadowsocks.
Open that subscription and tap Update (some versions put it at the top right). Region or line names appear only after success. On failure, check that the link is complete, that there are no extra spaces, and that this network can reach the subscription host itself (some hosts have to be reachable first).
The usual mix-up: save, then say “there are no nodes.” Update first, then look at the list.
Nodes will change later. In settings you can turn on “Update when opening” or background update so you are not tapping every time. Background update needs Settings → General → Background App Refresh allowed for Shadowrocket.
Pick a node
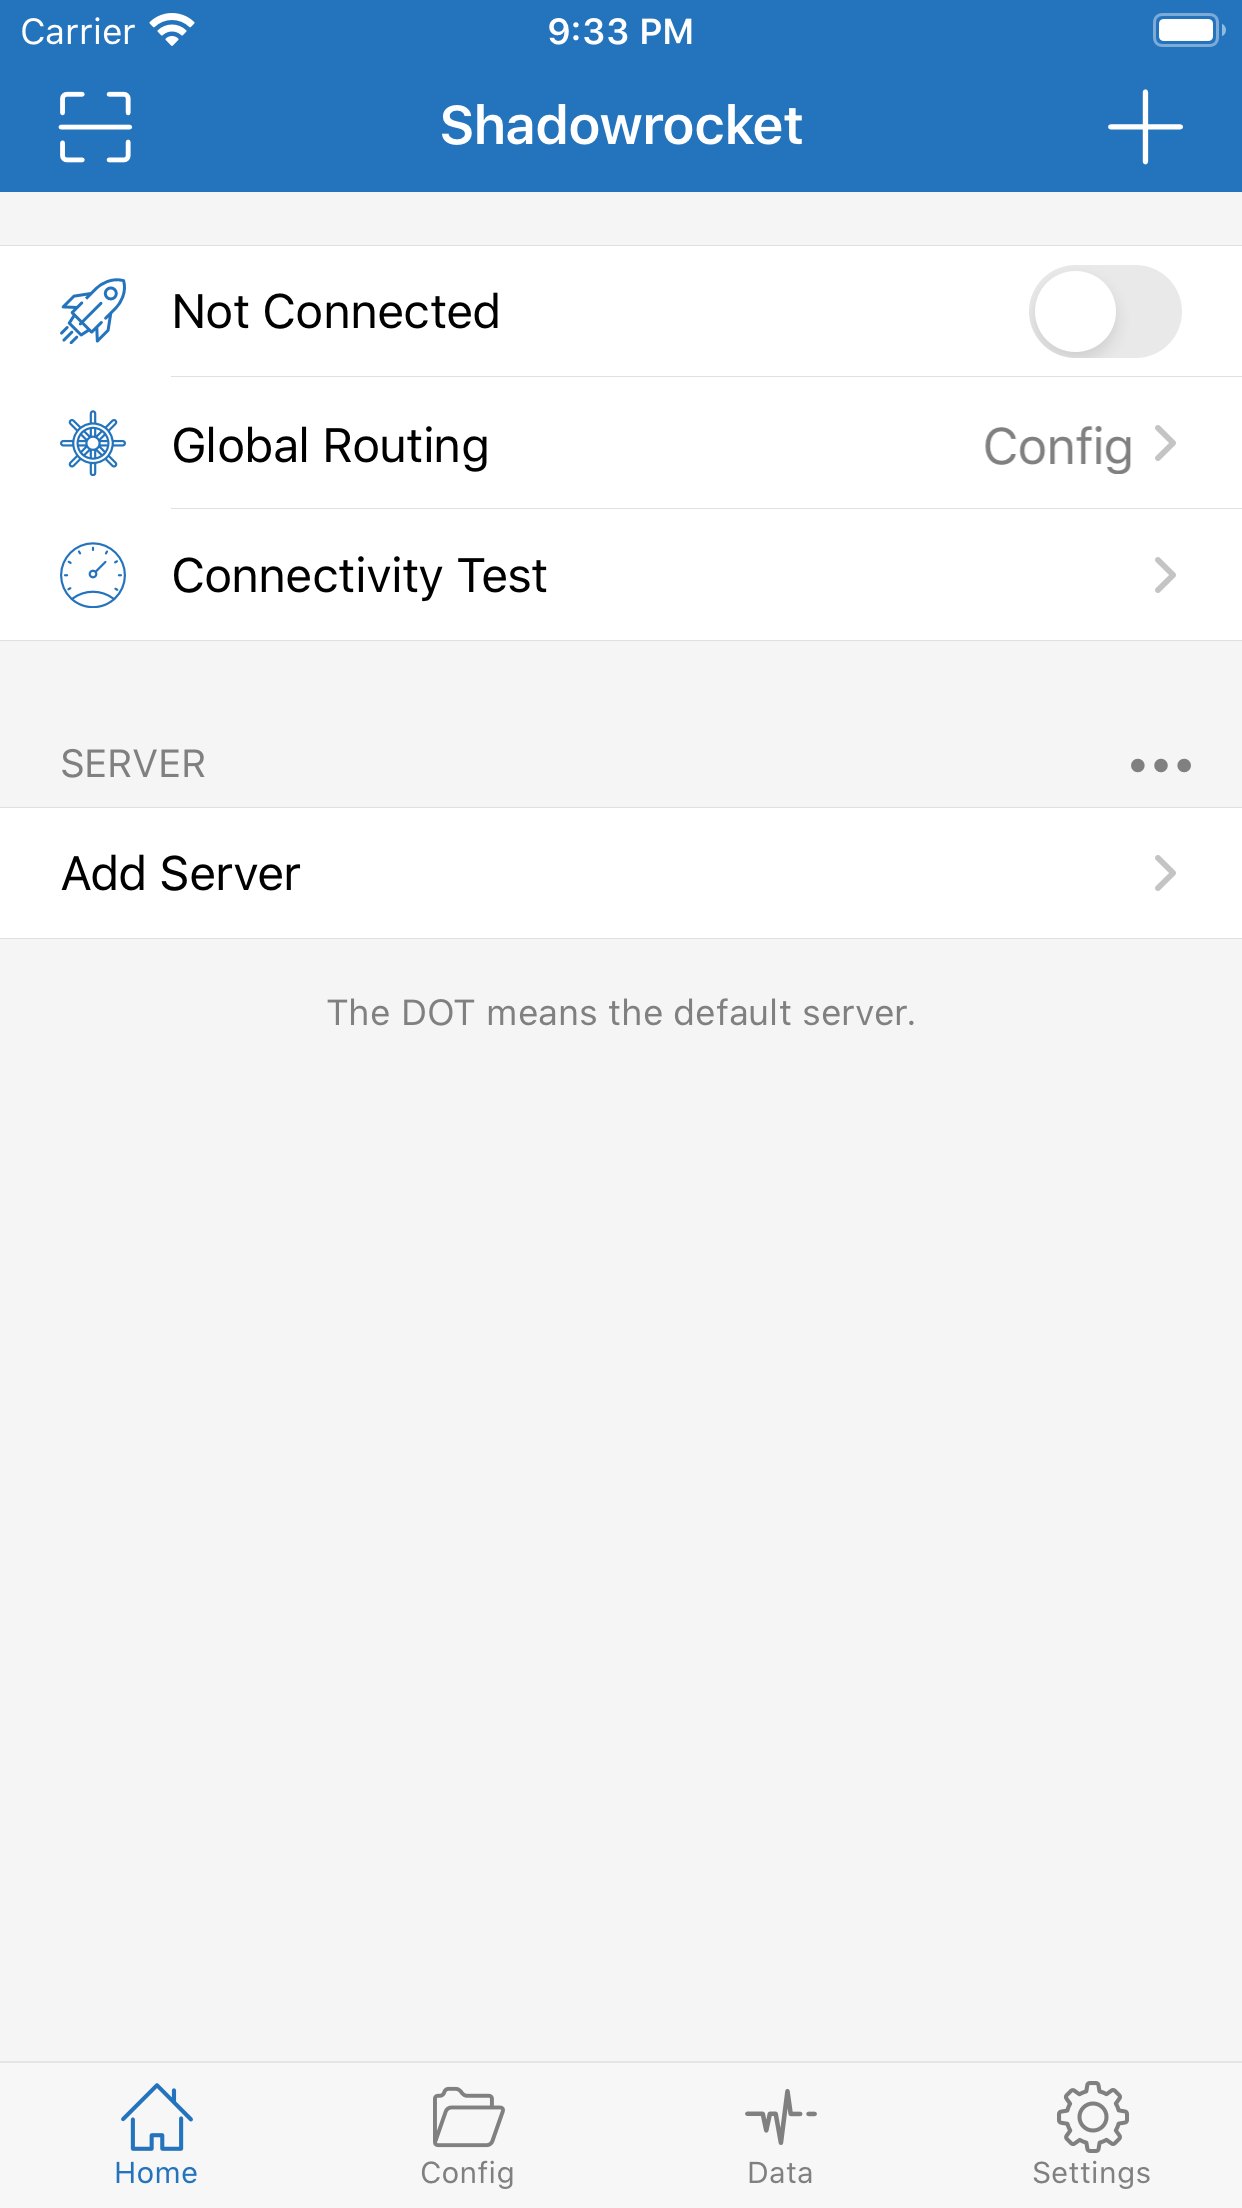
On the right: nodes land in SERVER on Home. When it is empty you only see Add Server; the note says the DOT is the default server. Use Connectivity Test for latency. The list usually shows a latency number. Smaller means a faster round trip, not necessarily more bandwidth — low latency can still be a thin pipe. Skip Timeout and obviously red rows first.
If you are unsure, run a latency test: let the client ping the batch, then pick green or lower numbers. Tests use little traffic, but doing them too often can get you limited. Once or twice is enough.
Tap a node to select it. Selecting it does not start forwarding. That is the switch in the next step.
Turn the connection on
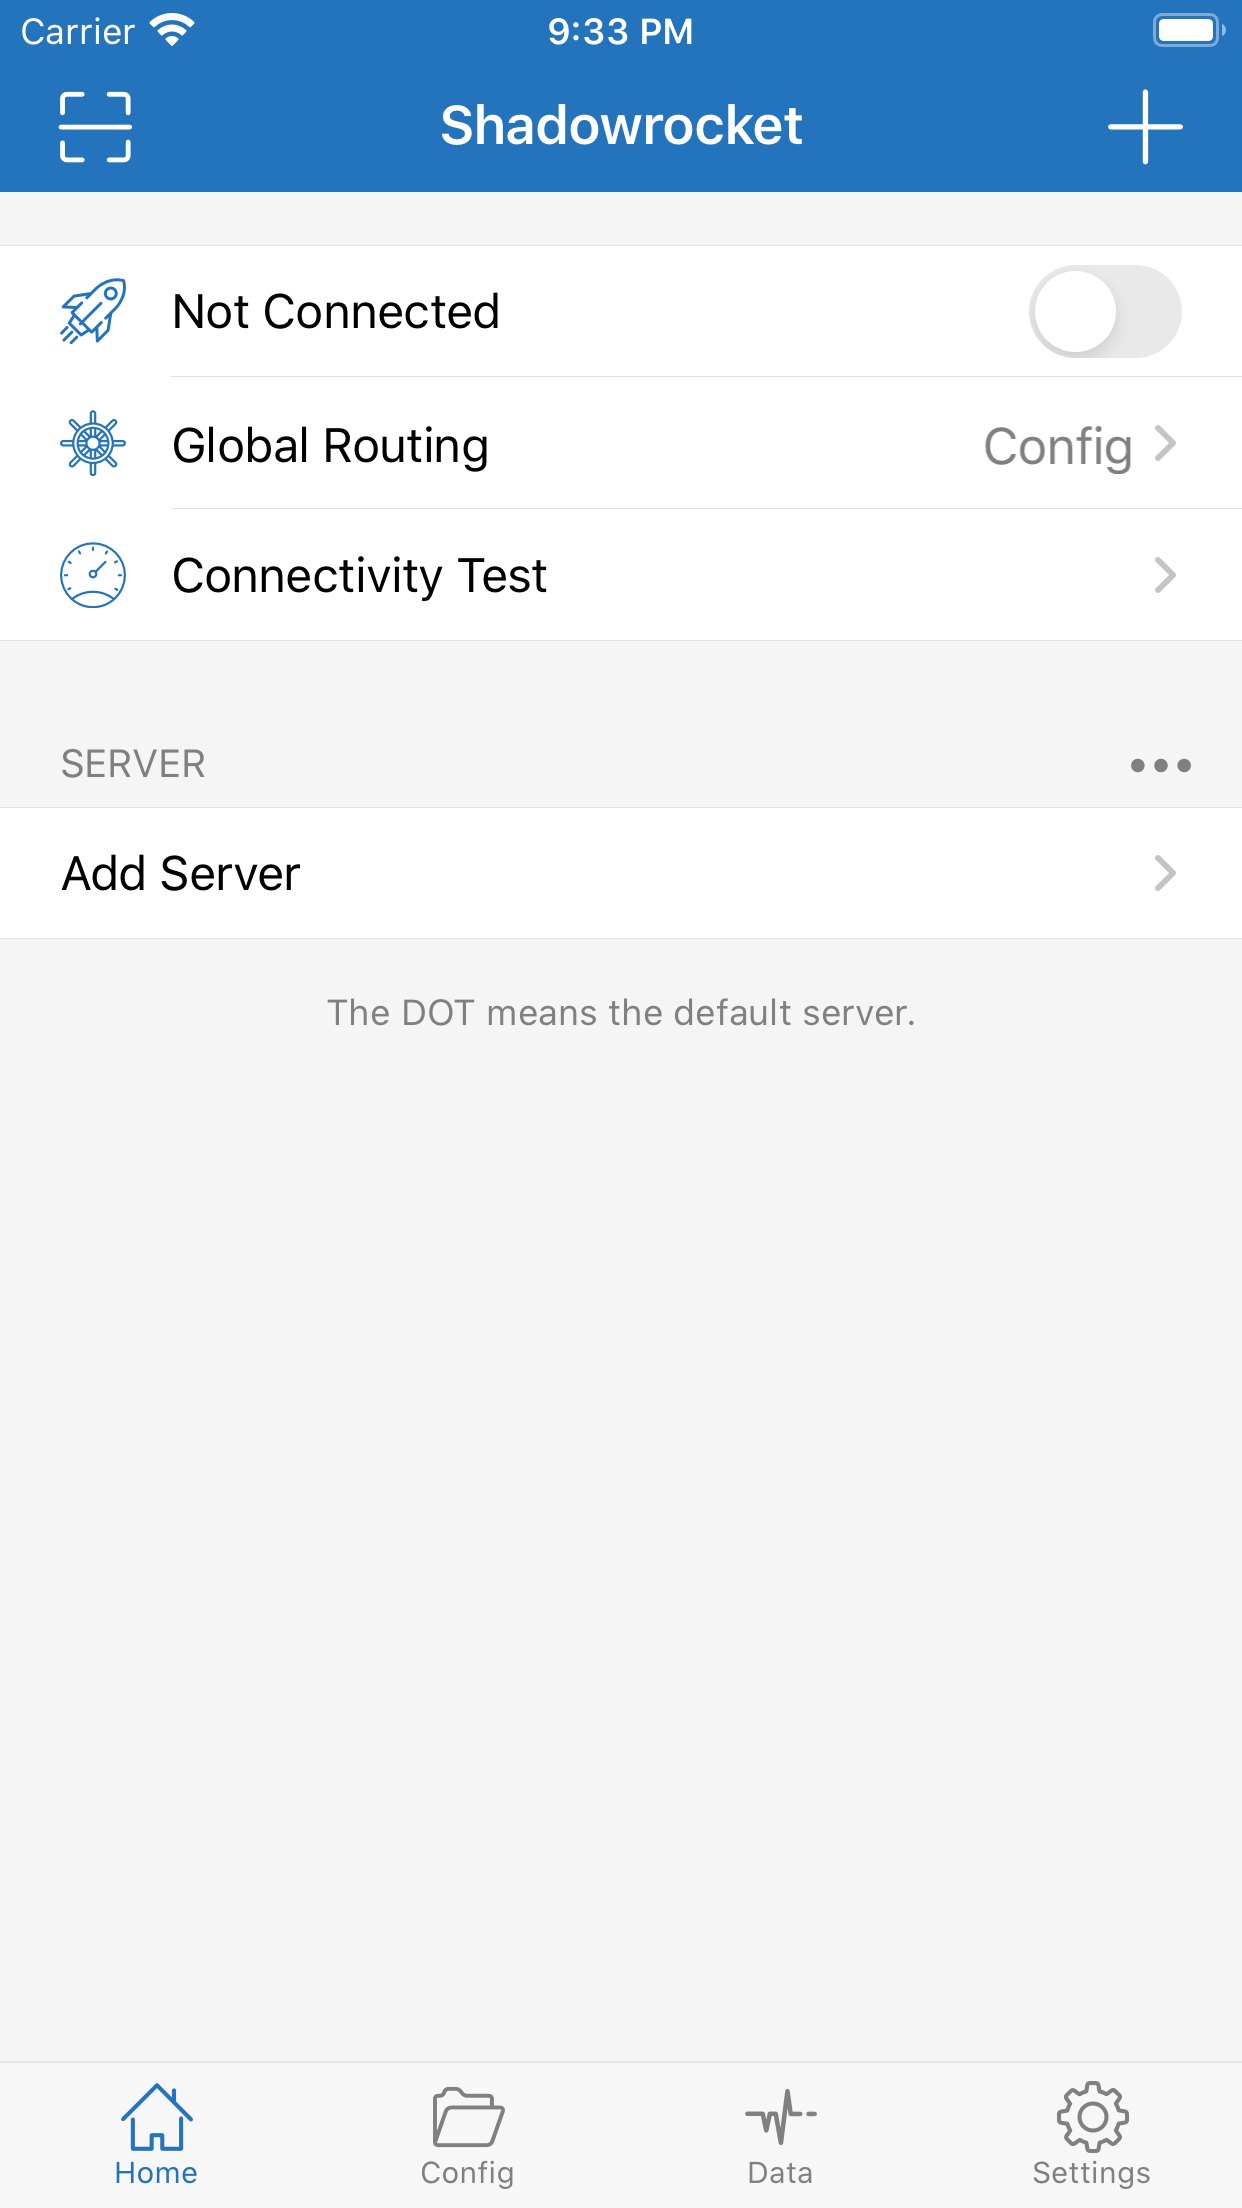
Back on the home screen, turn the top switch on. The first time, a system dialog asks to add a VPN configuration. Allow it, and confirm with Face ID / a passcode as prompted.
This is iOS Network Extension: without that permission, no proxy client can take over traffic. The permission is for Shadowrocket on this device. It does not hand traffic to this site, and it is not signing into some “official account.”
The switch stays on and status becomes Connected. Then this step is done. If the switch keeps blinking, the current node probably failed handshake. Change nodes. Do not toggle, install, and uninstall in a loop.
What you should see A VPN icon in the status bar. If there is no icon but it says connected, judge by whether the target page loads.
Confirm it is working
Open a page that usually fails without a proxy. If it loads, you are usually done.
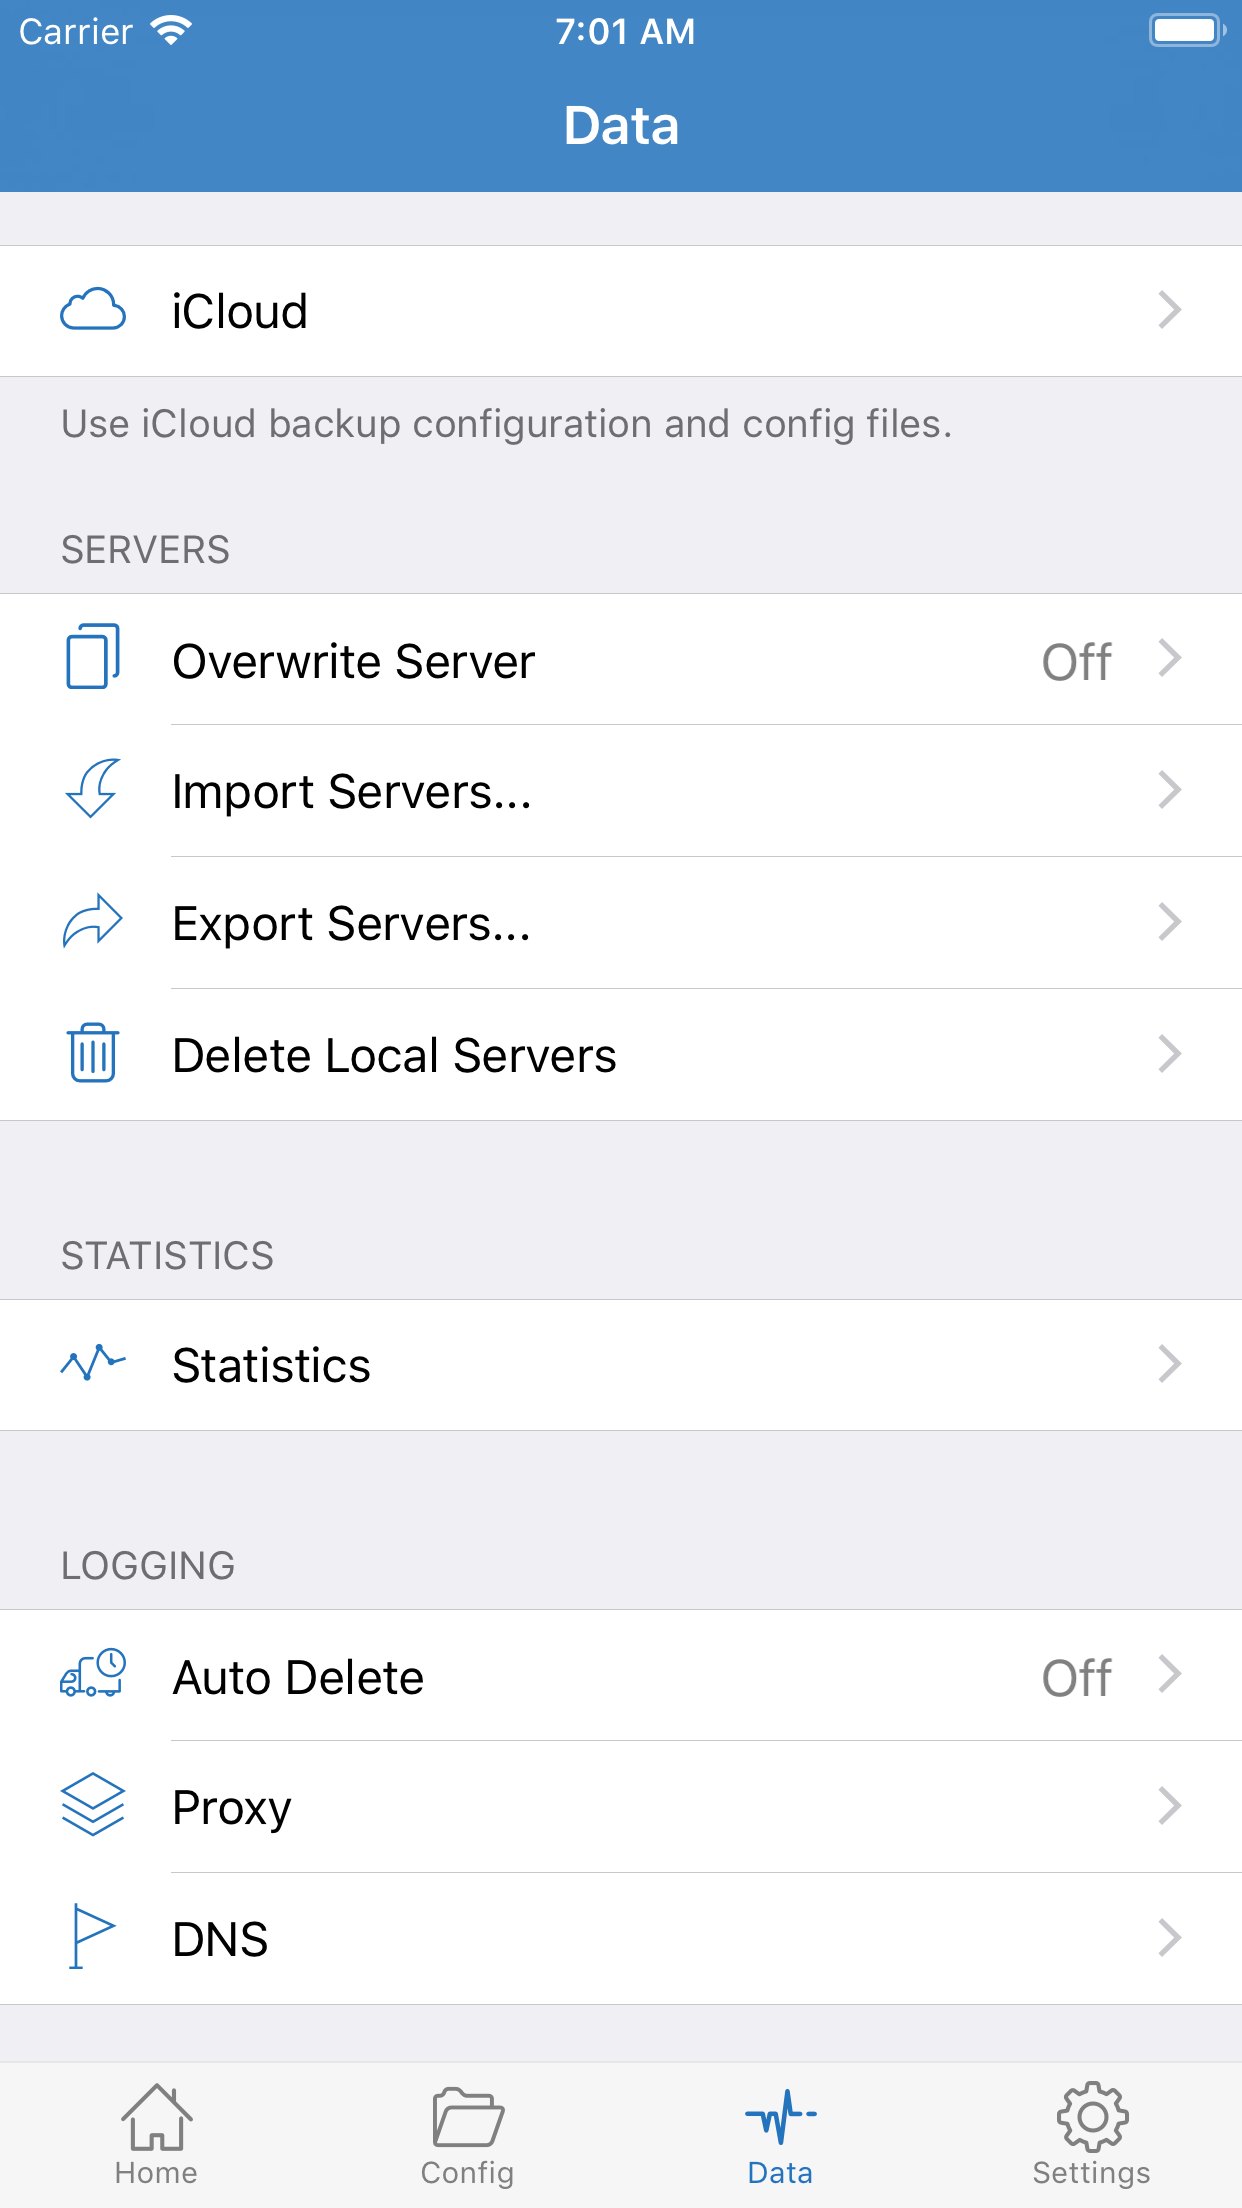
To see whether traffic used the node: tap Data at the bottom. That page is iCloud backup, import/export servers, Statistics, and logs. Traffic totals are inside Statistics; Proxy / DNS under Logging are request logs. If Proxy in Statistics rises as you browse, requests are using the node. Both at 0: check the switch and routing mode.
Local sites getting slow is often global sending traffic that should have stayed direct. Change routing in the next section. Do not brute-force a “faster” node.
Routing modes
The home screen or config usually has three. Names may differ slightly:
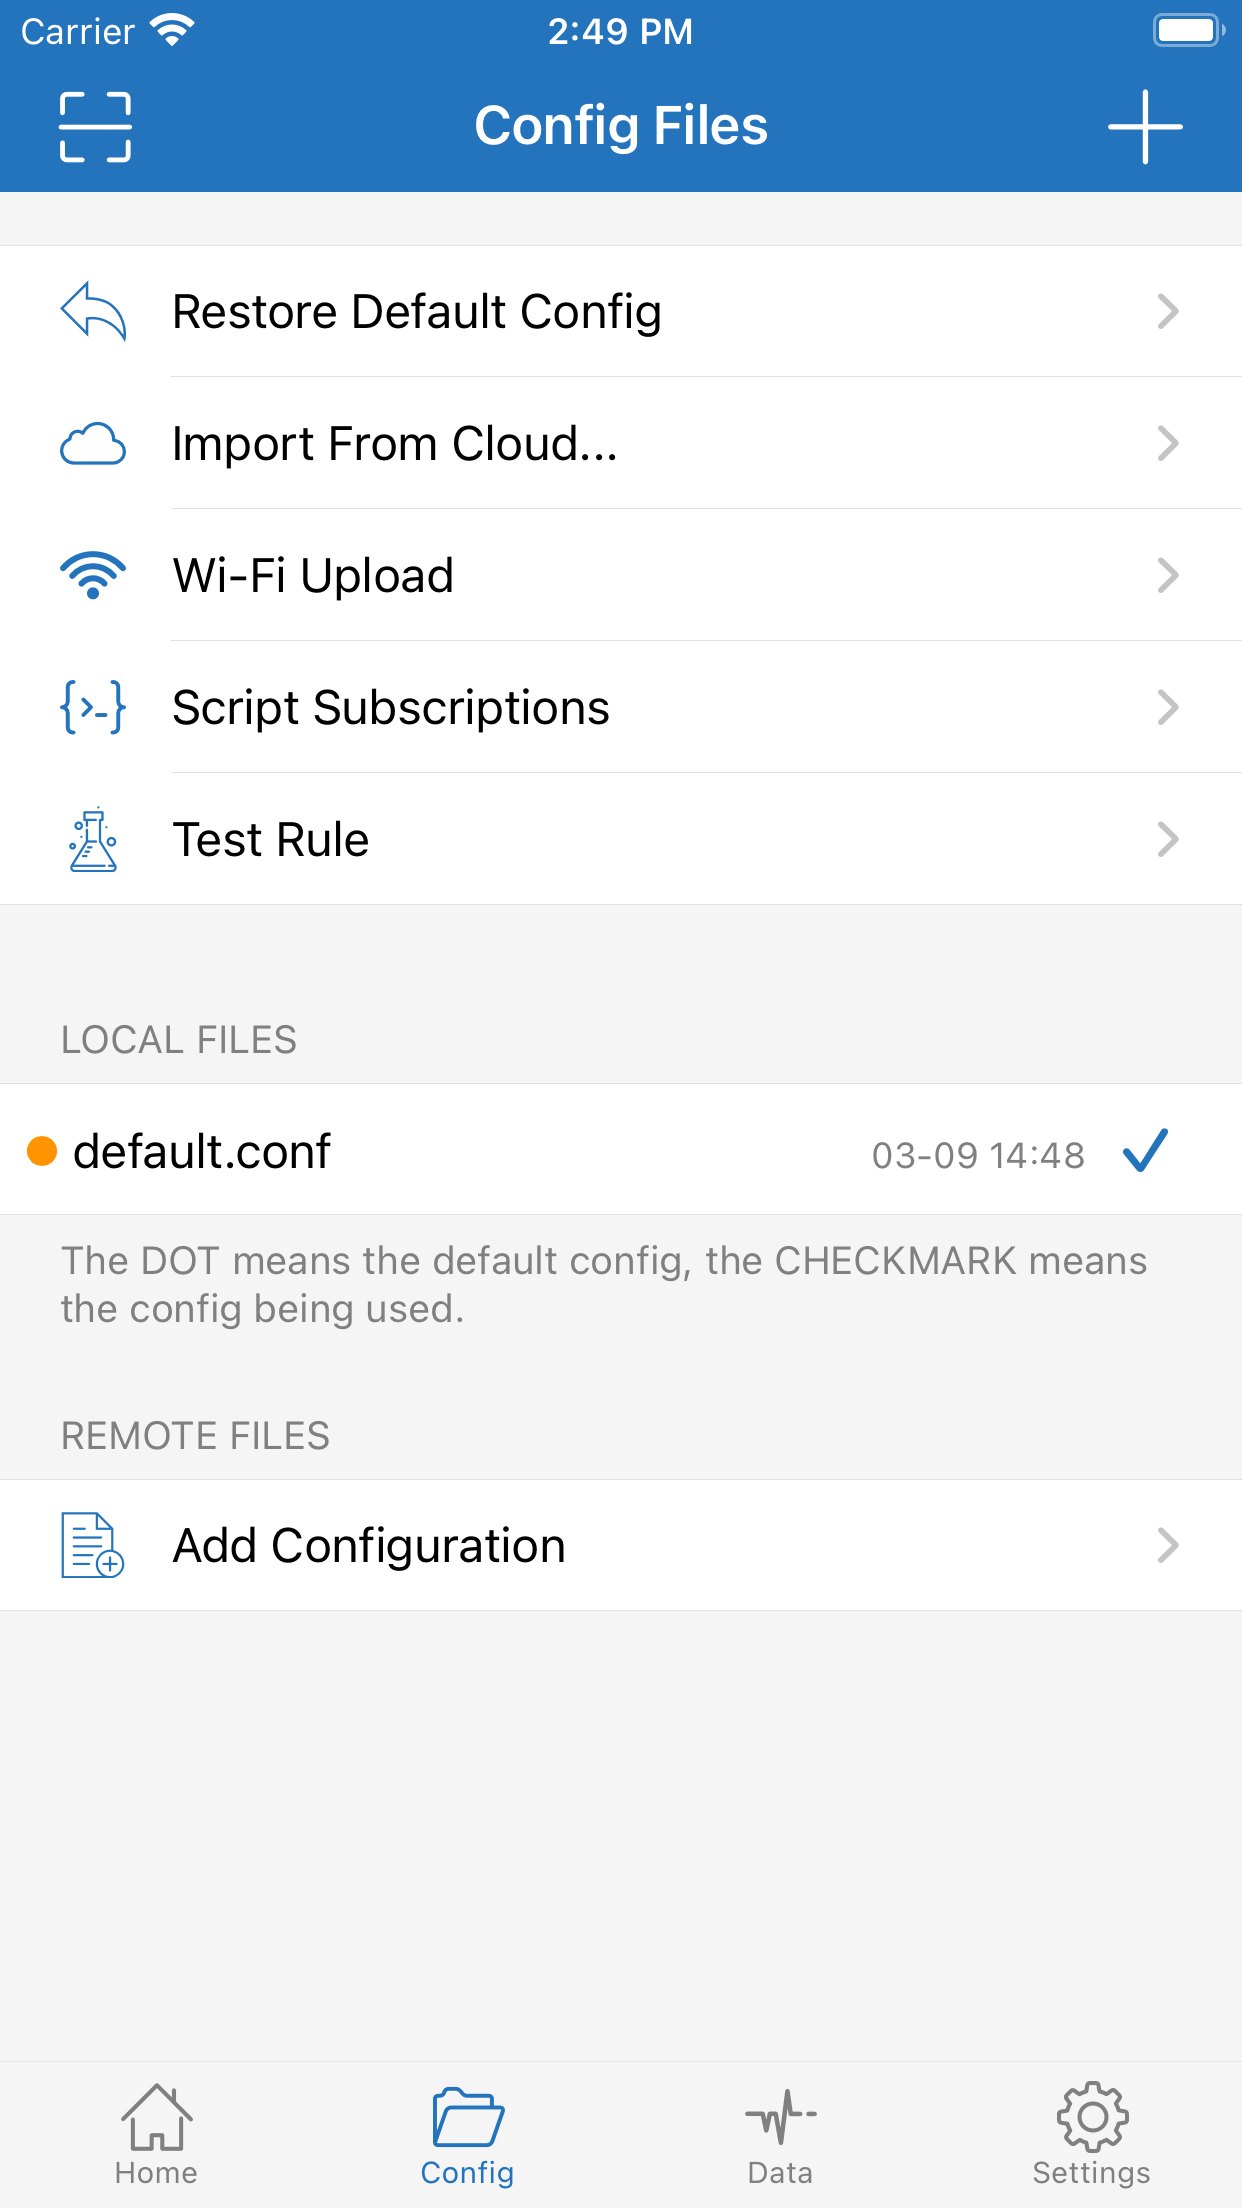
On the right: the Config tab holds rule files (dot = default, checkmark = in use). Home → Global Routing → Config follows that file. Proxy is global. Direct is off.
| Mode | Behavior | When to use it |
|---|---|---|
| Config / Rule | The rule file decides direct vs proxy | Daily use. Local traffic stays direct; what needs a node uses one |
| Proxy / Global | Send as much as possible to the current node | Turn on briefly to check whether a rule misclassified the site |
| Direct | No node; proxy is idle | A control experiment, or when you do not need the proxy |
Stay on rule mode day to day. If global connects and rule mode does not, the rule marked that site direct. Edit the rule or change the rule subscription. Do not assume the node is dead.
Rule-based routing
Rules match top to bottom. The first hit wins. The last FINAL is the fallback. Full keywords and order: rule-based routing. The block below is an example, not a default config:
DOMAIN-SUFFIX,apple.com,DIRECT
DOMAIN-SUFFIX,icloud.com,DIRECT
DOMAIN-SUFFIX,google.com,PROXY
DOMAIN-KEYWORD,github,PROXY
GEOIP,CN,DIRECT
FINAL,PROXY
DIRECT: skip the node, for local sites and Apple services. PROXY: send to the selected node. REJECT-style policies drop the request. Do not add them casually on everyday domains.
You can also split by app: always direct or always proxy for a given app. Rules live on the device like nodes. Back them up before you uninstall.
Day-to-day maintenance
Subscriptions expire and nodes die. Updating when you open the app is cheaper than waiting until nothing connects. After the provider changes a domain or token, delete the old subscription and add the new URL. Update alone may still fetch a dead address.
New phone: turn on iCloud sync in Data, and allow Shadowrocket to use iCloud in Settings, so nodes and config can follow the Apple ID. Scenes and groups may not sync in some versions. Still screenshot or export important config.
When you do not need the proxy, turn the switch off so every request is not forced through the client. That does not delete nodes.
What to check when it will not connect
Use this order. Do not reinstall first:
- Whether the switch stays on. Blinking → change nodes. Do not blame the app first.
- Whether that node’s latency test is Timeout. A whole column of timeouts → the subscription is dead or this network cannot reach the nodes. Update the subscription or try another network.
- Whether system time is automatic.
- Whether you allowed VPN. Settings → General → VPN & Device Management should show Shadowrocket’s configuration.
- If routing is rule mode, try global once: global works, rules do not → fix the rule; global also fails → node or local network.
- If it still fails, see troubleshooting or FAQ. Reinstall is last, and it wipes config you did not back up.
The tutorial assumes you can already open Shadowrocket. Otherwise start on the download page.